
Hiya everyone
Hope you are all ok
Sorry I have been absent again!
I am here today with a little tutorial :)
Step 1
Print off required sheets

Step 2
Cut all the elements out, for the piece
with the aperature I cut it using a metal ruler and craft knife, I then covered
over it using a bit of acetate- leave that to one side for now


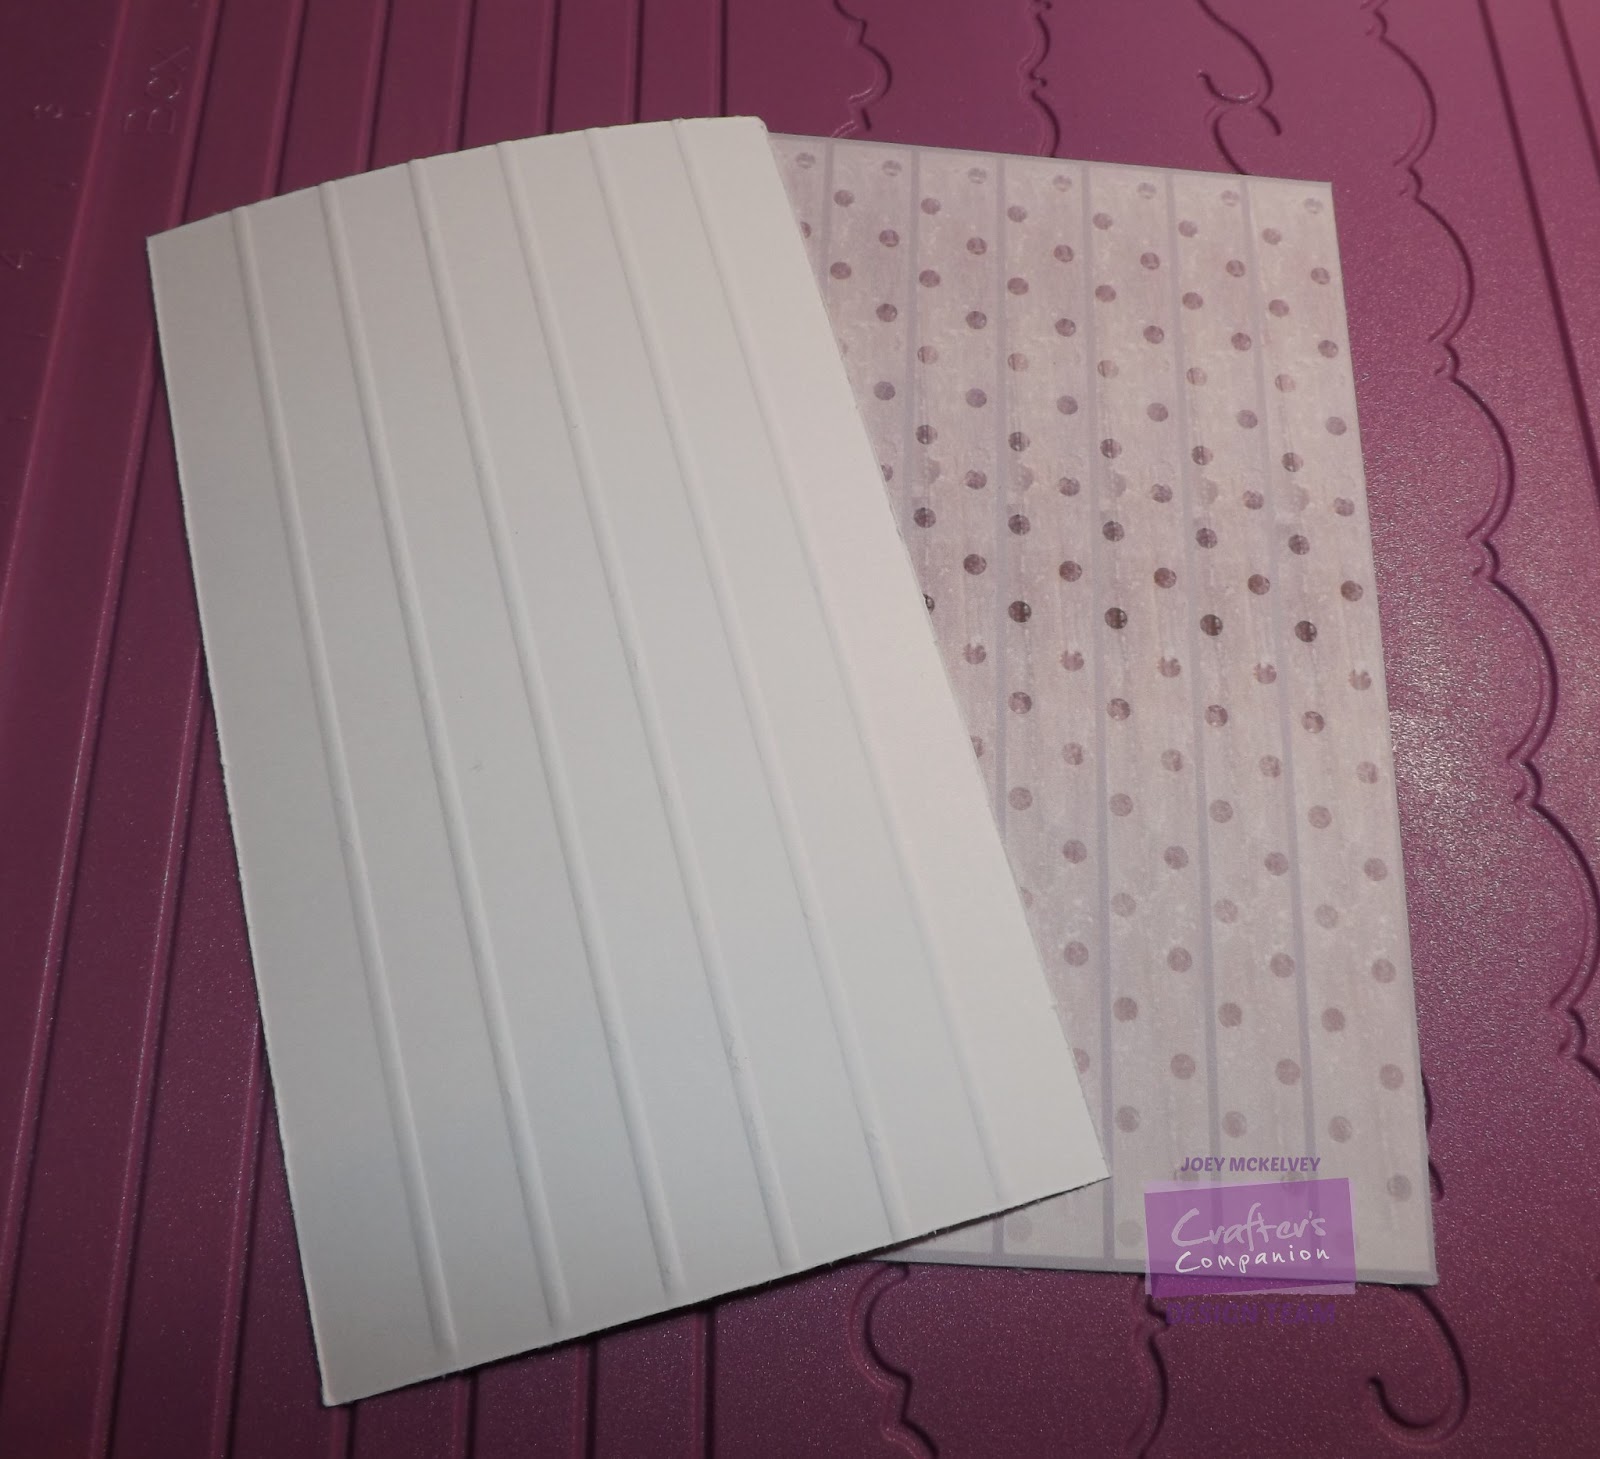
Step 3
Score all the lines on your other
pieces (the lines are marked) I used my ultimate pro to do this. Once you have
scored them, you need to fold them Mountain/Valley style as shown


Step 4
Add glue to the bottom strip as shown and
place your base image layer on to it, you need to repeat this on the other side


Step 5
Move up a fold and add glue then stick
your second layer in, you need to repeat this step on the other side, add the
glue to the back of the image you are sticking down (only the edge) as you
don't want the strips to stick together

REPEAT this for your last layer
Step 6
This is what it should now look
like, take the piece you covered with acetate earlier, and add glue to
the two long sides, stick this to the top of your tunnel book


Step 7
Take the last two pieces and glue them
together as shown, then and glue to the base and stick your tunnel card in
place, you can embellish as you choose, if you want to add anything to the images,like
glitter or gems then do it before you stick them in place


Here is one of my finished ones
Which I used as a hanging,I thought this would look lovely in a childs room :)

Thanks for Popping By
Hope this was of some help :)
I do have a Brambly Hedge Spring Card Tutorial to share but will do that on a different post
Joey
x x x
No comments:
Post a Comment